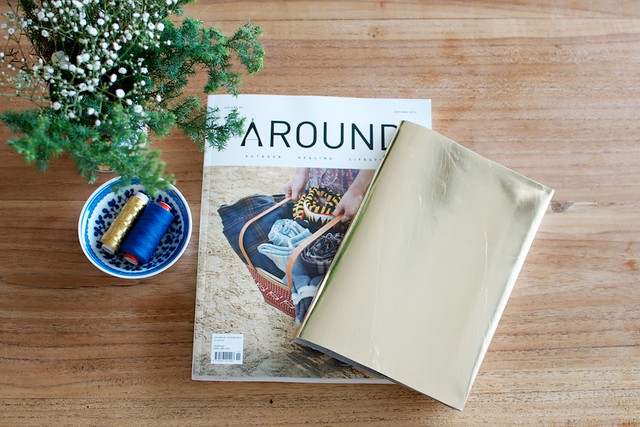
I love the feeling of a New Year, it's such a great opportunity to strategise what you want and how you're going to achieve it. And while things never turn out exactly as planned (I'm no closer to being a yogi than I was January 1, 2012) I do think it helps you visualise the year so you can actively live it rather than passively taking things as they come. As they always say, failure to prepare is preparing for failure! Or something like that. Just in case you're at a point where you too would like to strategise the coming year, I blogged about the process I use for making my New Year's goals in a post last year (here). As part of this I talked about writing a plan for how you'll achieve your goals, and having a notebook to record your weekly action items was a big part of this. I'm such a fan of Moleskine and other cute and fancy notebooks, but when you write lists and notes like a madman (I'm sure I'm not the only one?) you go through them at an alarming rate. Because of this I usually end up toting a schoolkid style notebook around which is soooo not in keeping with the whole chic and businesslike appearance I'm trying to cultivate! Recently I made a simple leather notebook cover - reusable and perfect for adding a bit of chic to your stationary, without having to splash out on expensive notebooks all the time. What could be a better way of staying on track with your new years resolutions?

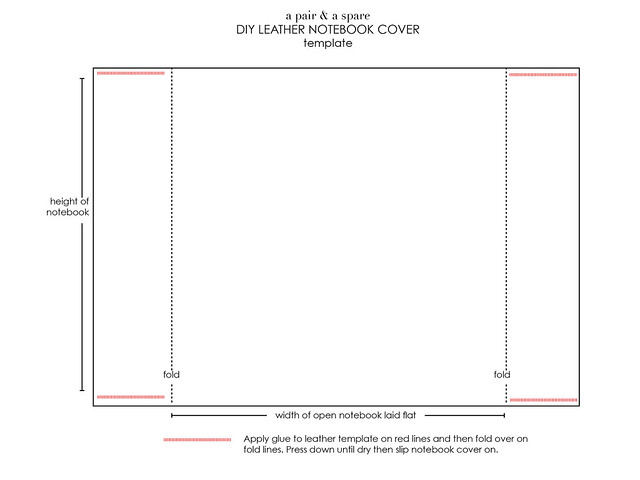
This is your template.
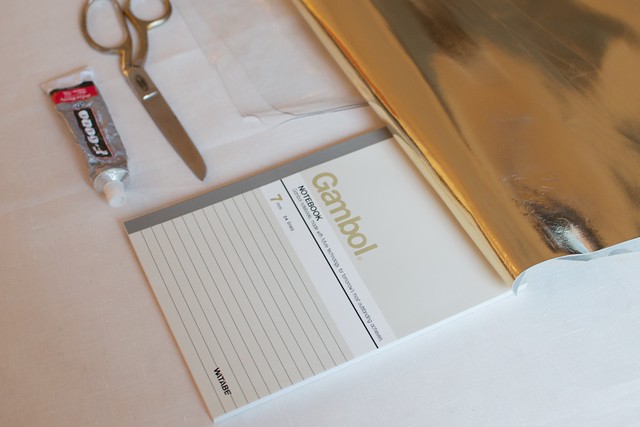
How to:
1. Open your notebook and lay it flat on the underside of the leather. Mark on the leather the edge plus approx 5cm (2.5in) for the fold along the long edge and 2.5cm (1in) for the top edge.

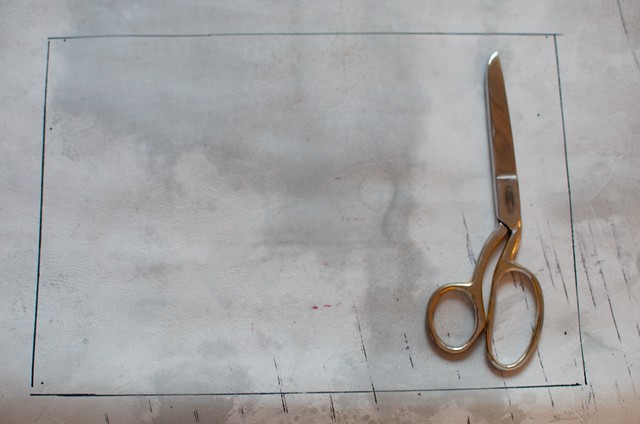
2. Match up all your marked points to create a big rectangle. Cut it out.
3. Fold over the both edges of the leather, making sure they are equally folded on each side.
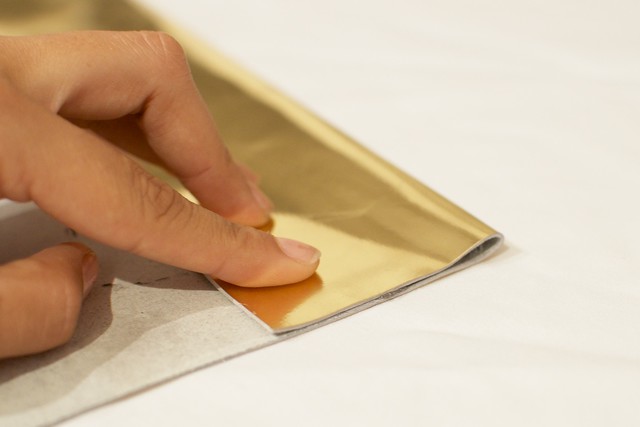
4. Using your glue, spread it along the very edge of the fold to secure the leather together. Make sure not to spread the glue too far up as you want to create a pocket in which to slide your notebook cover. Leave to dry over night under some heavy books.
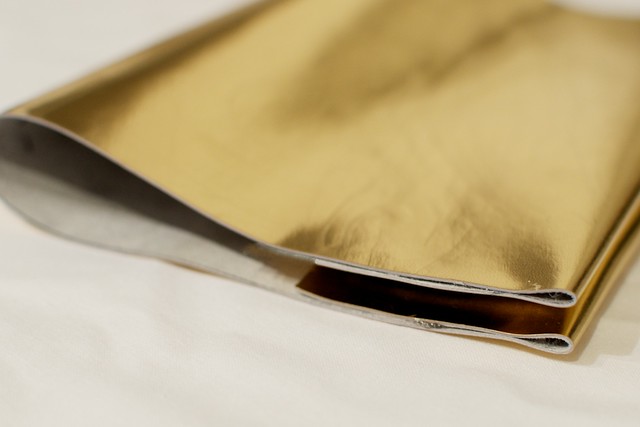
And there you have it! I've been hanging by the pool in Thailand writing in this notebook all the things I want 2013 to be and how I'm going to make that happen. I know it may sound like an unlucky year, but I'm hoping it will be the opposite for all of us! Have you got any resolutions you'd like to share? I would love to hear what your goals are and how you plan on making them happen!


No comments:
Post a Comment